03 Jul Simple DIY food ideas for an overnight hike.
“You better cut the pizza in four pieces,
because I’m not hungry enough to eat six.”
Packing for an overnight trip can be intimidating. When I first started backpacking, I was a compulsive over-estimator of how much food I actually needed to bring. I packed my food out of fear, and I was usually dismayed when I returned to the trailhead carrying an extra 2-3lbs of food that I didn’t need.
After nearly two decades of climbing and hiking and backpacking, I’d like to think that I FINALLY know what I’m doing – although one of my favorite parts of this sport is that my knowledge is continually improving and evolving.
Packing for a simple overnight doesn’t have to be difficult or overwhelming, and you most certainly don’t have to eat disgusting food. I try to bring as much “real food” (i.e. non freeze-dried) as possible for day 1, even though it is slightly heavier – I feel like the nutritional value of eating a banana, or an apple or a sandwich far outweighs the disadvantage of carrying a little bit of extra weight (although if I’m going for a SUPER fast/light ascent, I would most likely stick to things like protein bars, etc…).
Over the past few months, I’ve been taking a nutrition course that is specifically designed to cover the essentials of sport and exercise nutrition. Naturally, my particular interest is in nutrition for endurance athletes like mountain climbers and hikers. During this process, I’ve upped my carbohydrate intake significantly in order to fuel my body for optimal performance on the mountain. While I used to follow a more, “paleo” lifestyle, I have found that an increase in carbohydrates has DRASTICALLY improved my performance. I also consume a relatively high (for my size) quantity of protein – I aim for around 122g per day. I have also found that consuming the protein really reduces the length of my recovery time.
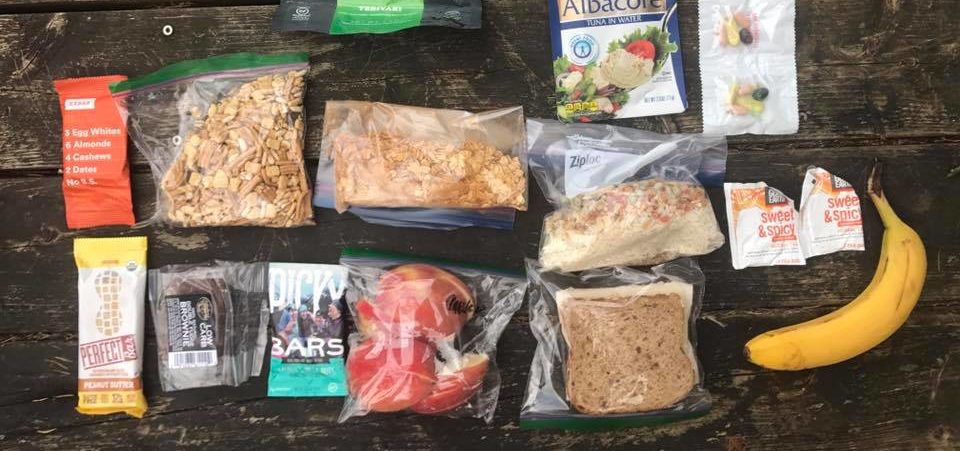
Here is my food haul for a recent overnight hike:
For context, this hike was approximately 6 miles and 5000′ elevation gain on day one, and about the same (except descending) on day 2.
Food for day 1:
Pre-hike: Stopped at 5b’s Bakery in Concrete, Washington for a breakfast sandwich and a blueberry muffin. 5b’s is a dedicated gluten free bakery and the food is BEYOND delicious. Even if you aren’t gluten free, I highly recommend it – it is 100% worth the stop (note: they are closed on Tuesday).
- pink lady apple slices
- banana
- turkey sandwich with havarti cheese
- Kashi GoLean cereal with BearNaked Granola
- PERFECT FOODS Bar in Peanut Butter Flavor (my FAVORITE)
- Harmony House Foods “Chickenish Veggie Soup Mix” + Harmony House Foods freeze dried butternut squash + Minute rice + albacore tuna packet for dinner (all of these are in a quart-sized freezer bag – I just add water and let it sit for about 10 minutes in my food cozy so that it rehydrates)
- Simply Scrumptious Low Carb Fudge Brownie for desert
- Good Earth Sweet and Spicy Tea
Food for day 2:
- 2 packs of Maple and Brown Sugar oatmeal for breakfast + scoop of freeze dried banana flakes and some turmeric and cinnamon (all of these are in a freezer bag – I just add boiling water to cook!)
- RX Bar – Pumpkin Spice flavor (so good, but my favorite is the Maple Sea Salt flavor)
- I also carried some Chef’s Choice turkey jerky and a Picky Bar (yum!), but I didn’t eat them, since the hike out only took about 3 hours.
Backpacking dinners/hot breakfasts tip:
I really like to keep it simple, and I usually make my own backpacking meals and place them in a quart sized ziploc freezer bag. You can pour boiling water into a freezer bag, and it won’t pop or spill – I’ve been doing this for YEARS, and I have never once had an incident. I use a Big Sky International insulated food cozy to keep my food warm while it is re-hydrating, but if you didn’t want to carry a cozy, you could place it into a hat or a jacket.
One other tip: pick up a long handled spoon at REI… not only are they lightweight, but they prevent your hands from getting dirty when you are scraping for the last bits of food at the bottom of your freezer bag!
If you don’t feel like making your own backpacking dinners, I highly recommend the Good to Go brand of backpacking food. Their Thai Curry is good enough that I would eat it at home – seriously, it’s that delicious. I like to bring freeze dried chicken along and add in some extra rice for more carbohydrates (I usually empty the package into a quart freezer bag, just so that I’m not carrying the heavier bag that it comes in). I am also a huge fan of Packit Gourmet Meals – their Austintacious Tortilla Soup is one of my all time favorite backpacking meals. With the Packit Gourmet meals, I remove all of the extra baggies and paper instructional pamphlets. I use a sharpie to write the instructions (i.e. 1.5 cups of boiling water) on the bag so that I’m not carrying excess garbage.
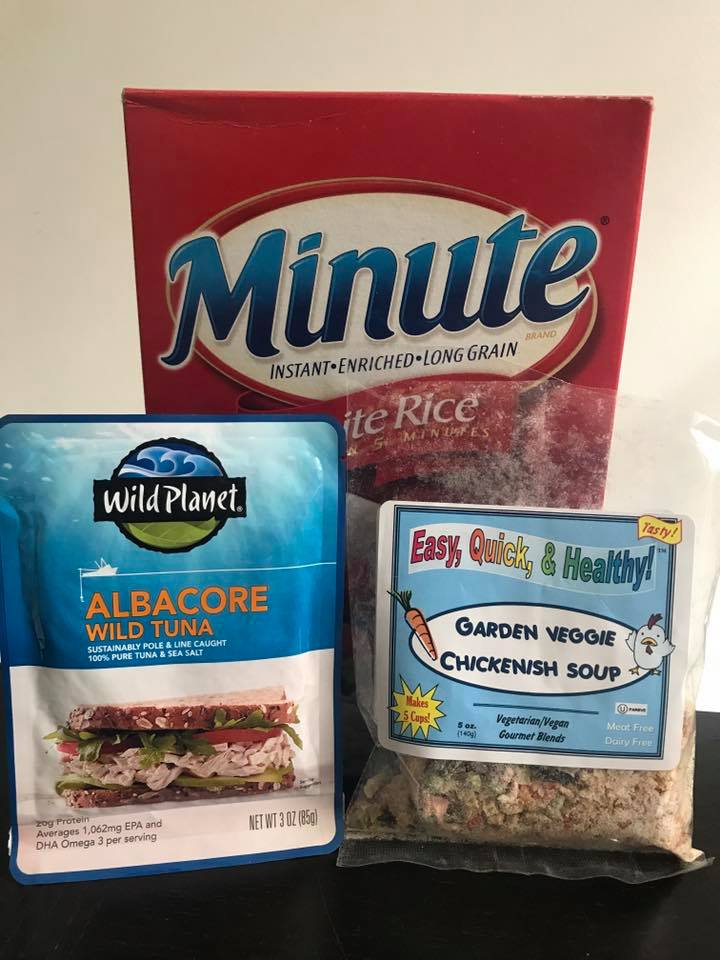
Minute rice re-hydrates really well, and the combo of the tuna + the “chickenish” soup is surprisingly good.
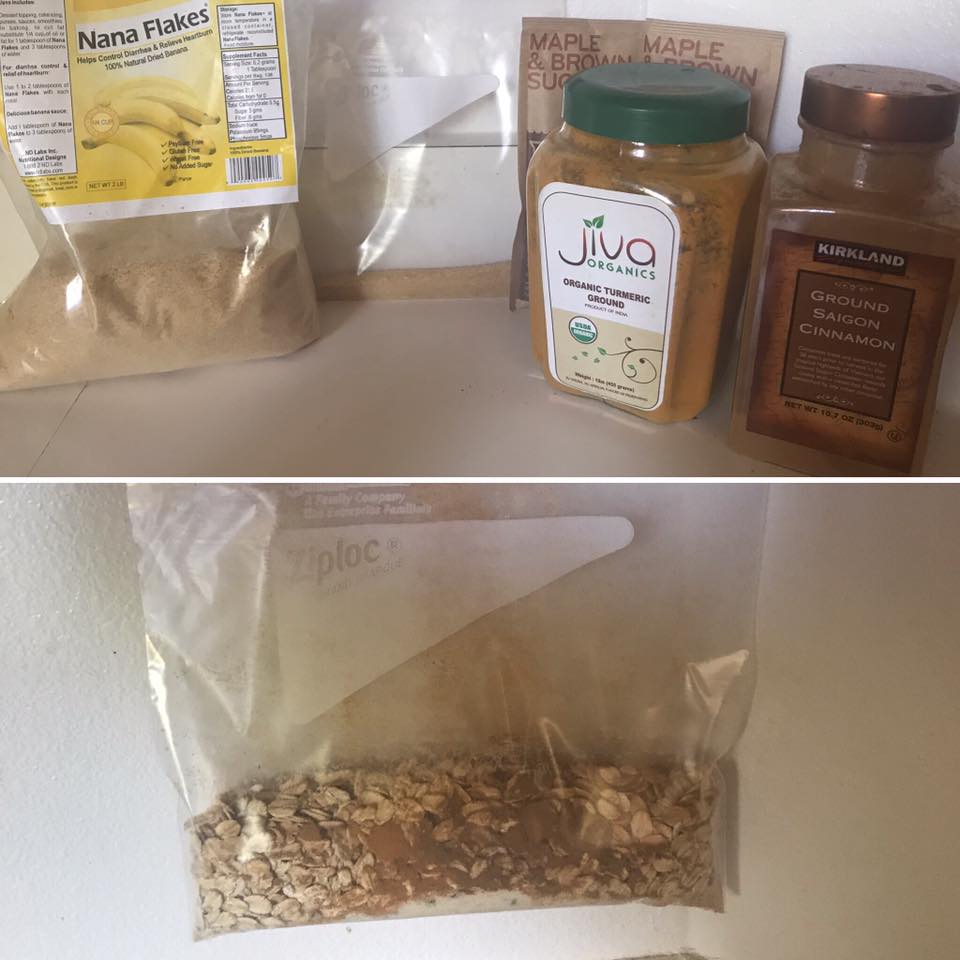 Not a very exciting photo, but this is how I bring my oatmeal on a backpacking trip – no need to pack a bowl!
On the way home we stopped at Cascadian Farms in Marblemount for homemade ice cream (espresso + raspberry chocolate chip is my favorite combination!).
Remember: don’t overpack food! If you find yourself frantically throwing things into your food bag, I can almost guarantee that you are bringing too much with you. Take the time to lay everything out onto the floor or a table so that you can visually picture exactly what you are bringing and when you are going to eat it. In other words, have a plan. I once went on a climbing trip with somebody who brought several pounds of chocolate covered espresso beans. You will have a much more enjoyable trip if you are fueling yourself effectively and efficiently, and not carrying 10lbs of extra food.
What are your favorite, easy backpacking meals? Any additional food tips?
No Comments